
experimental
« Previous Entries Next Entries »Interactive
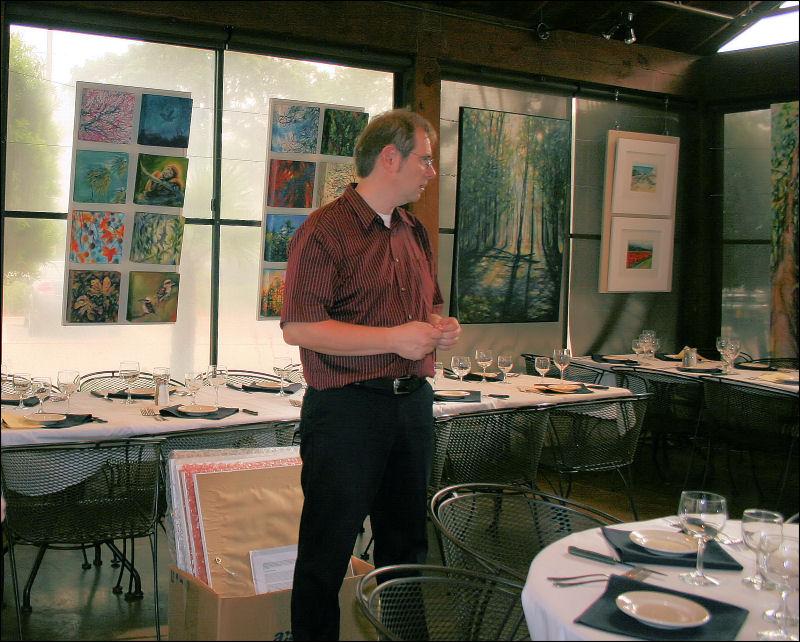
Saturday, April 25th, 2009
At the end of each month Oxide Gallery and Carino’s Italian Restaurant in Denton present an evening of Art, Dinner and Wine Tasting. Offering a new menu each month, an amazing four course dinner is complete with wine pairings for only $29.95. The room is separate from the rest of the restaurant, so offers an intimate setting where, at some point during the evening, the artist discusses and answers questions about their work. A new artist’s work is featured each month, and on Tuesday it’s my turn. Although this is a new idea it has been well received. Reservations are required, but April 28th is now booked solid, so the Dinner and Show is extended to take place on April 29th as well.
The Interaction with Flowering Shavingbrush Tree
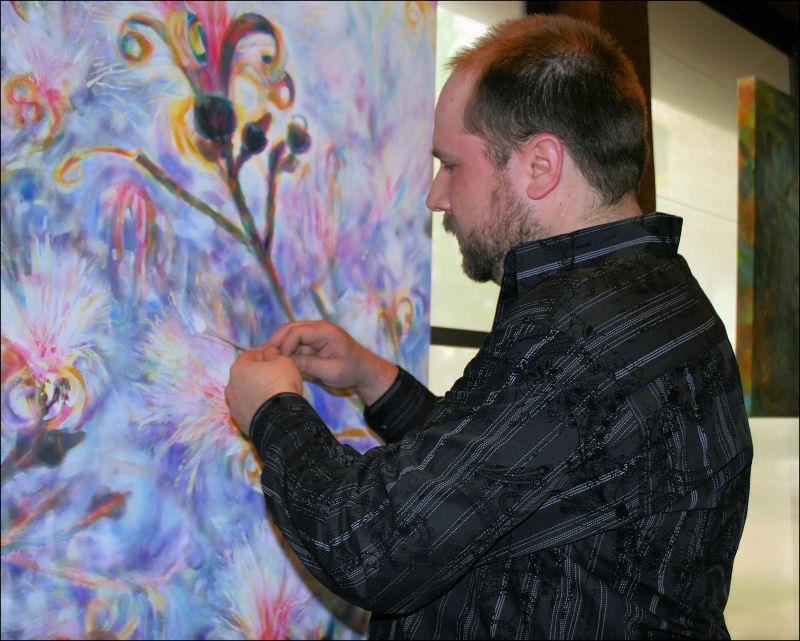
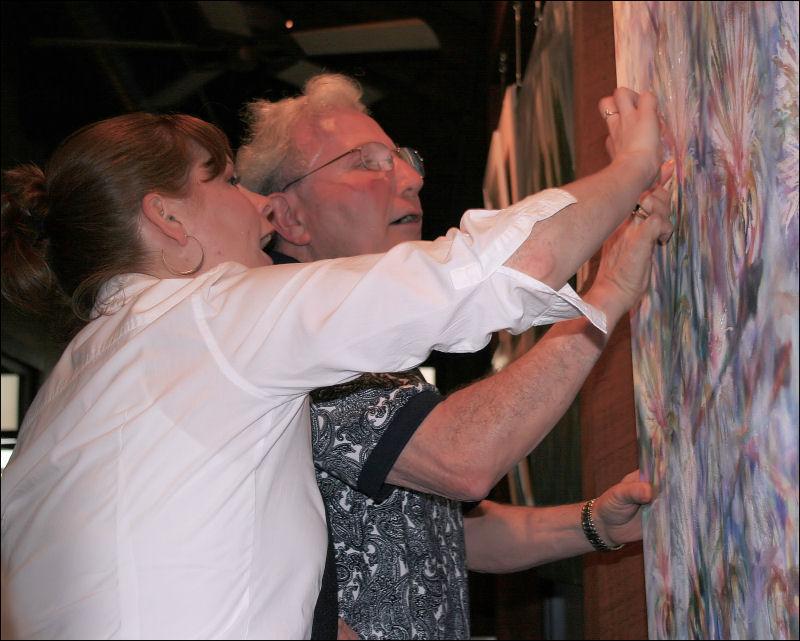
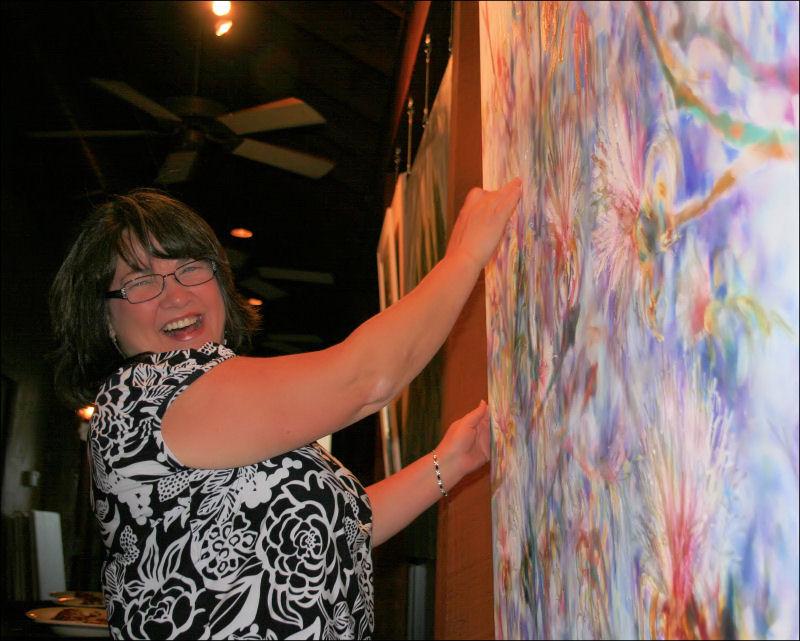
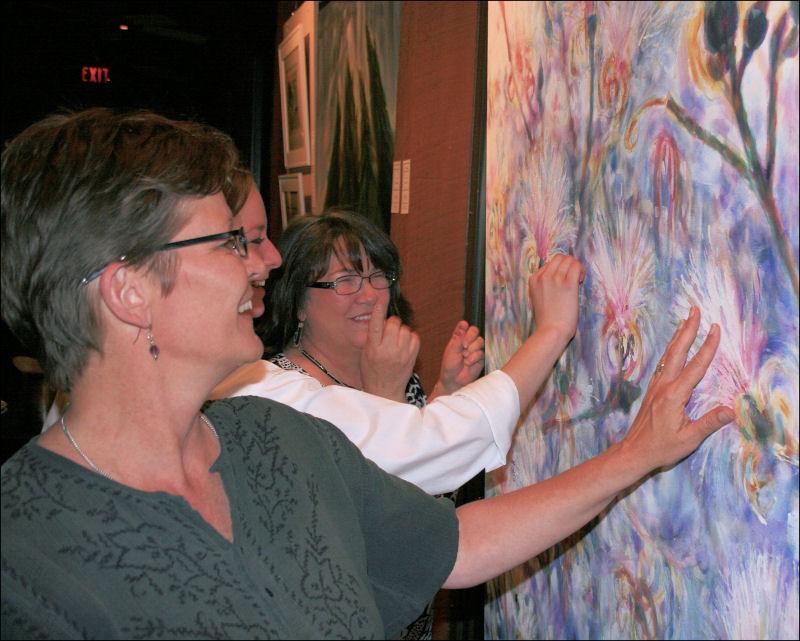
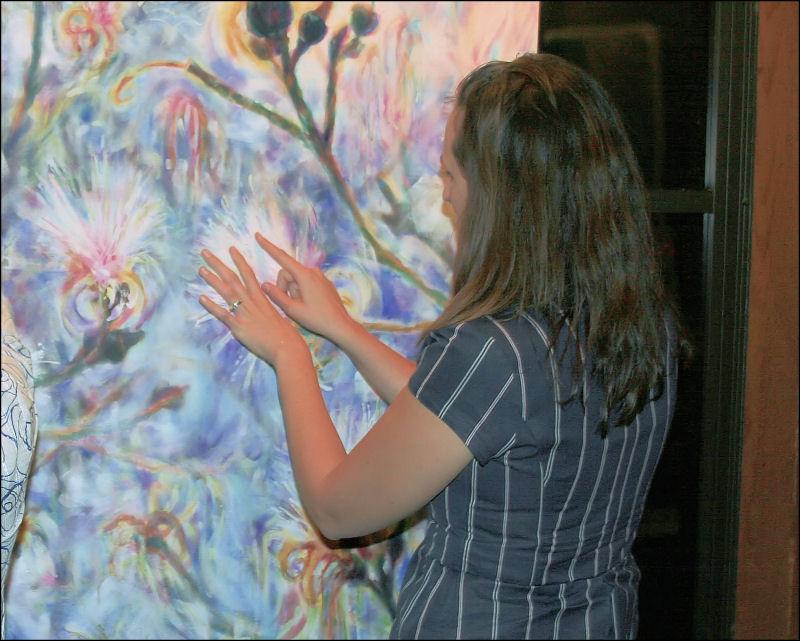
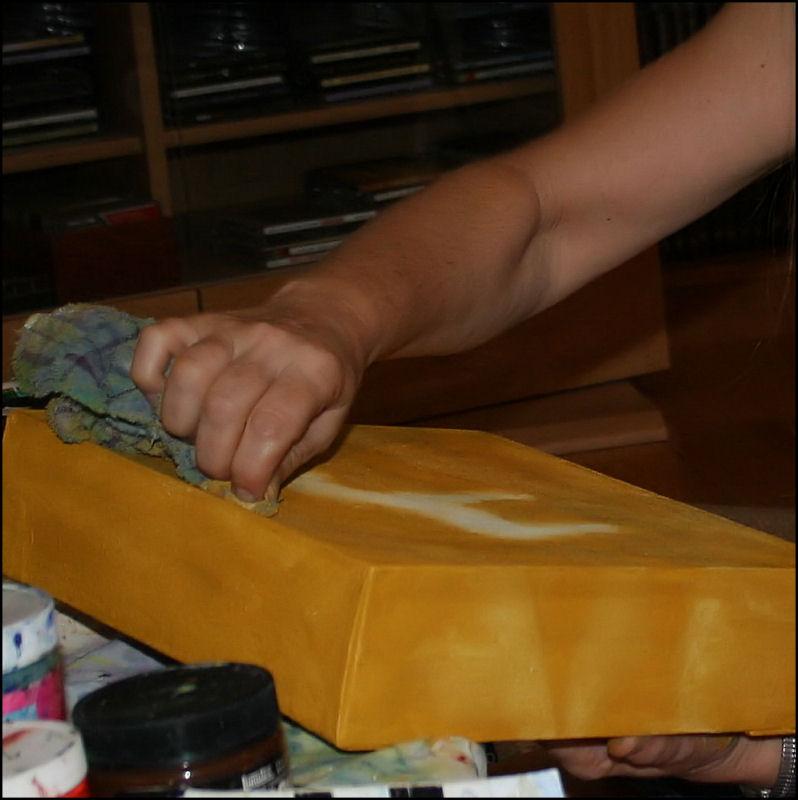
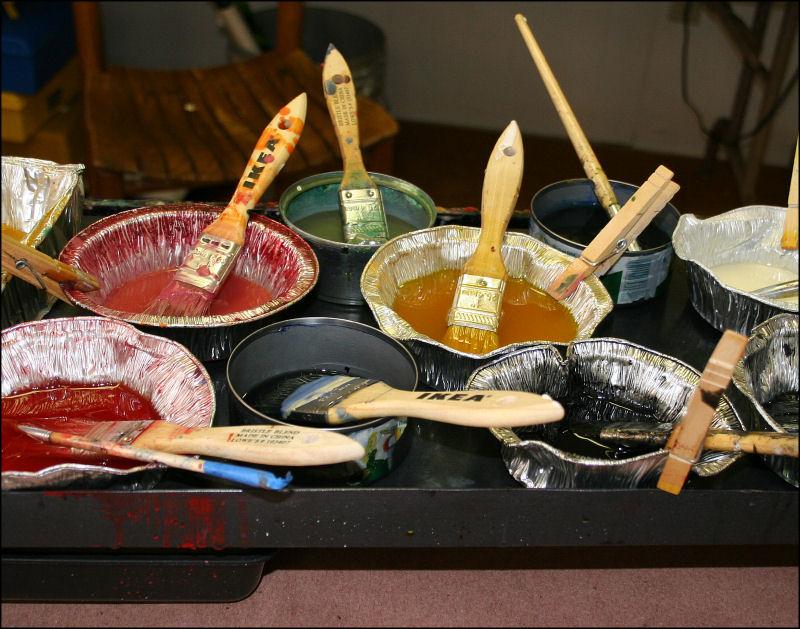
I reapplied masking fluid to the painting in order to continue working on it but still preserve all the great marks revealed after removing the first application. At Carino’s on Tuesday others will participate and be a part of helping this painting come to life by removing the dried rubberized medium from the painting, and help unveil the finished piece.
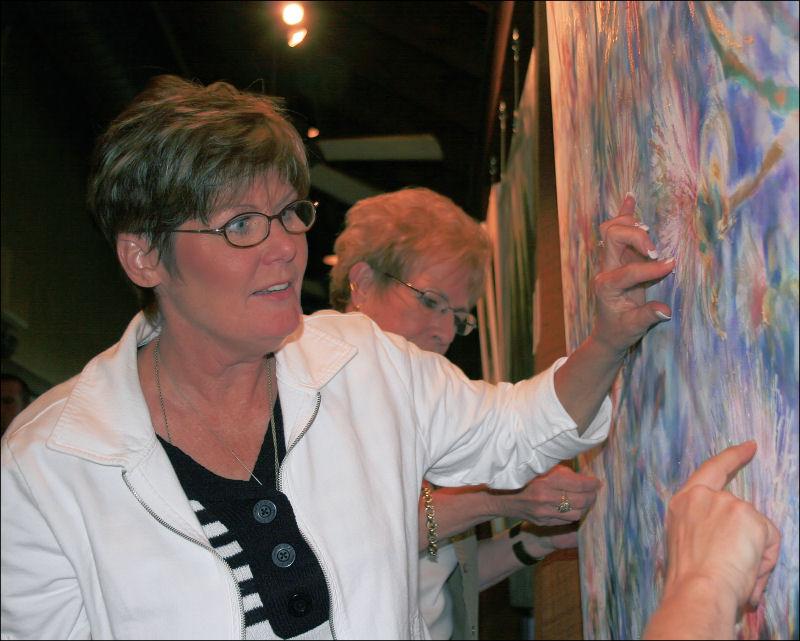
Update, May 1st: Pulling off the rubberized medium was a hit! A few people kept going back to pull more off. If gallery owners are open to it, I’d like to continue doing this at future opening receptions too. Here are some photos of the fun.
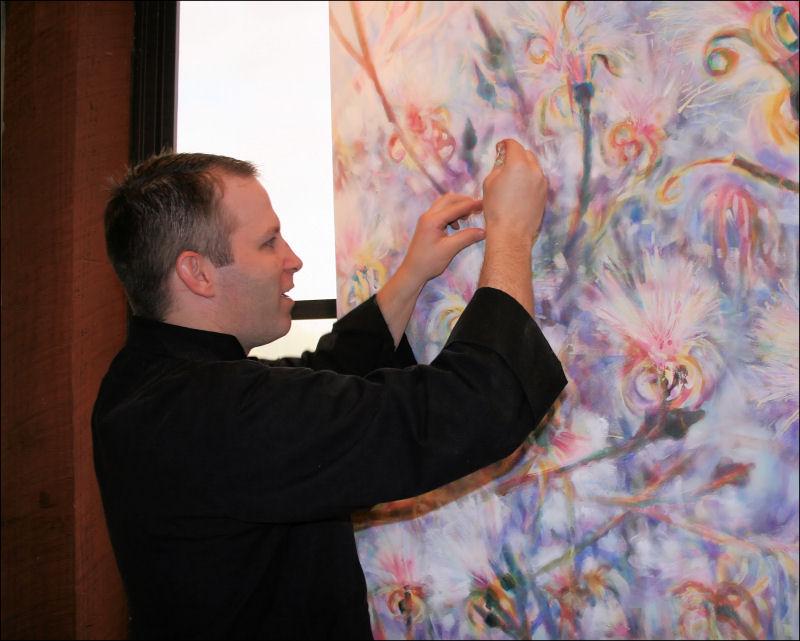
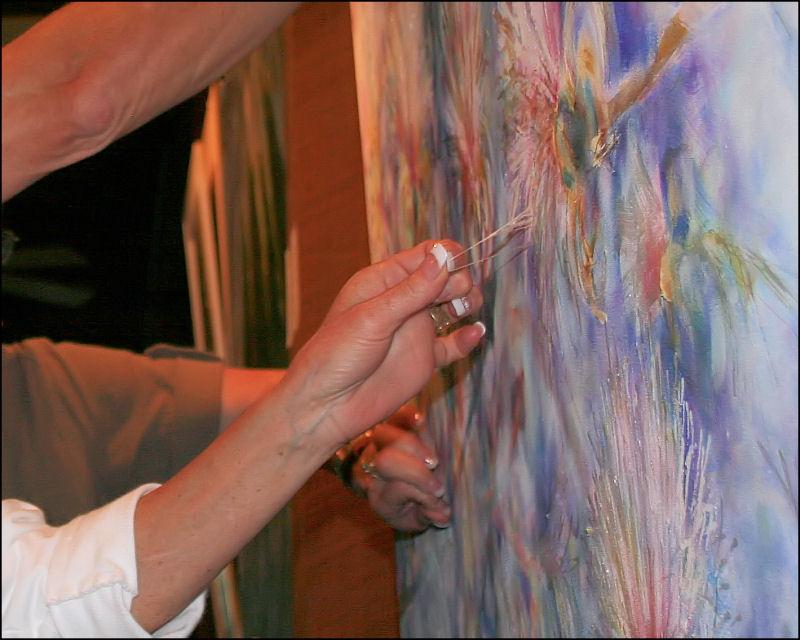
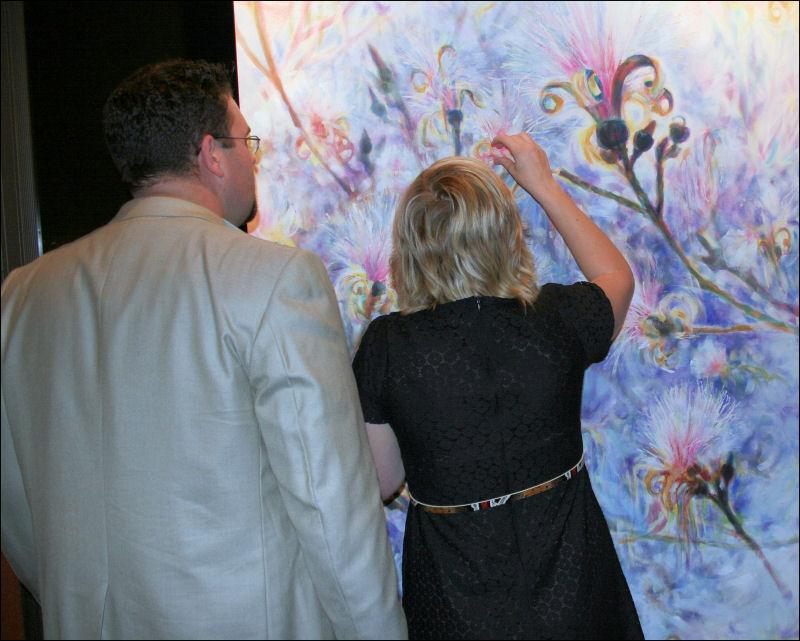
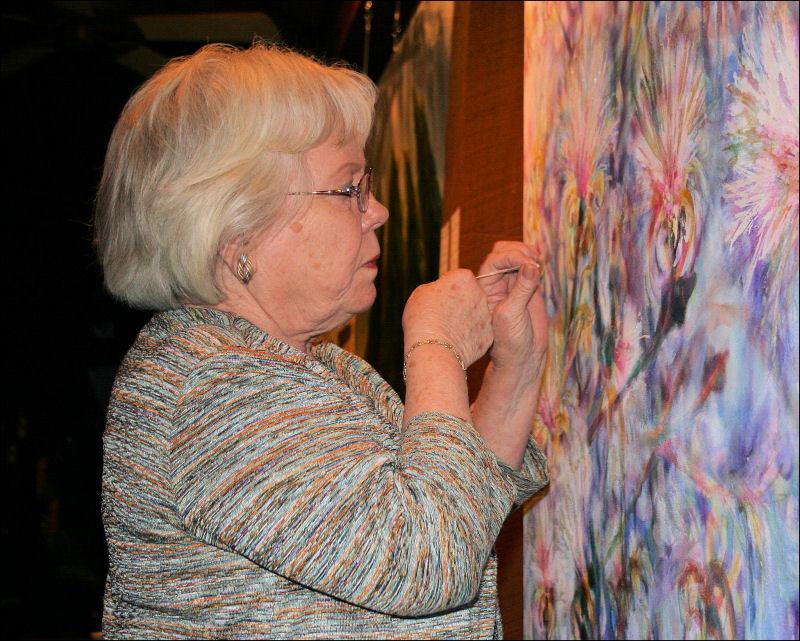
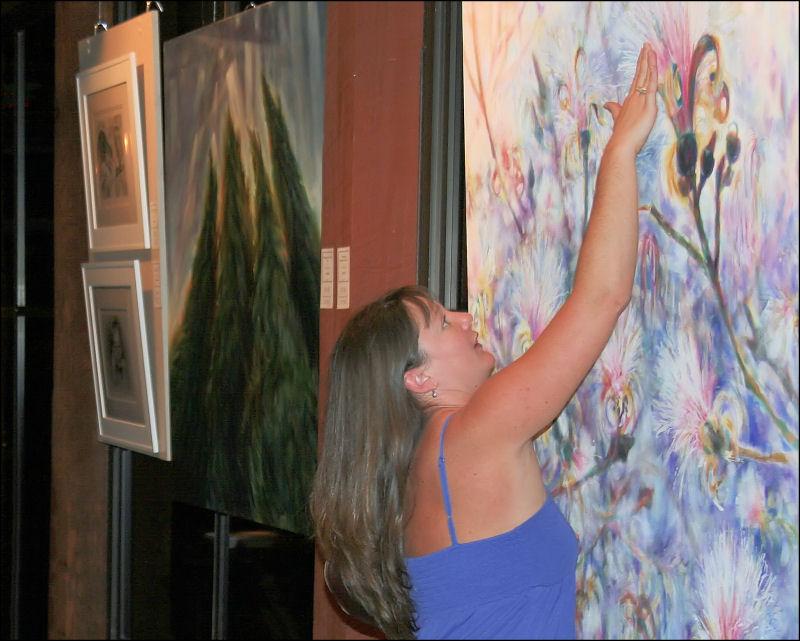
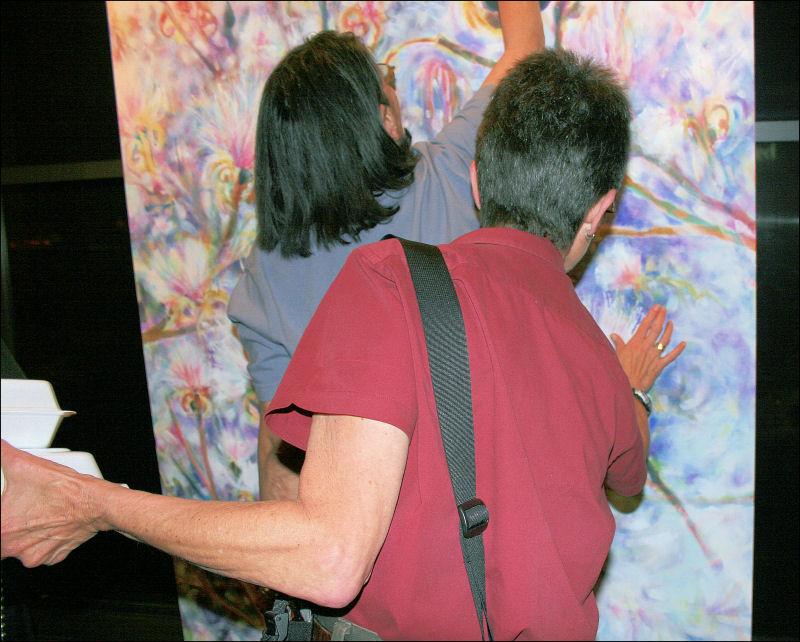
“One last peel before I go…”
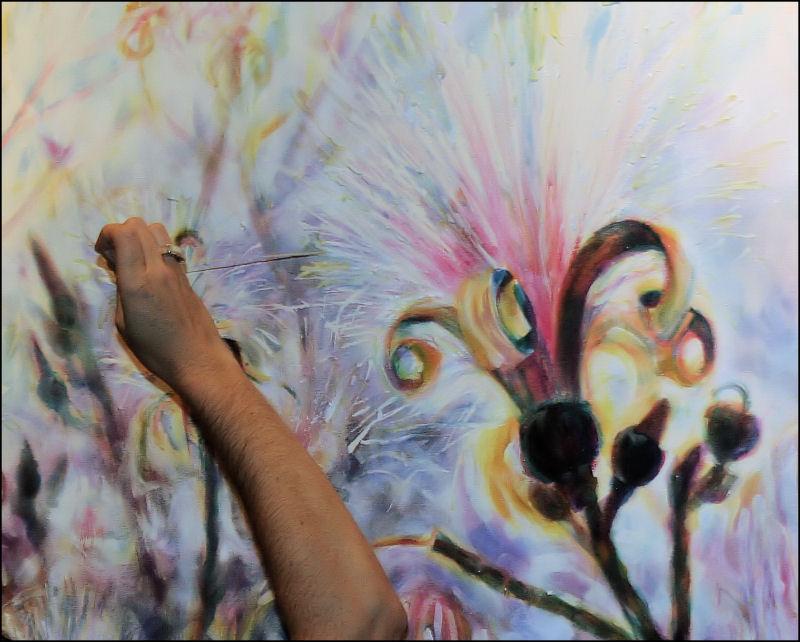
The perfect place for masking fluid
Monday, April 13th, 2009
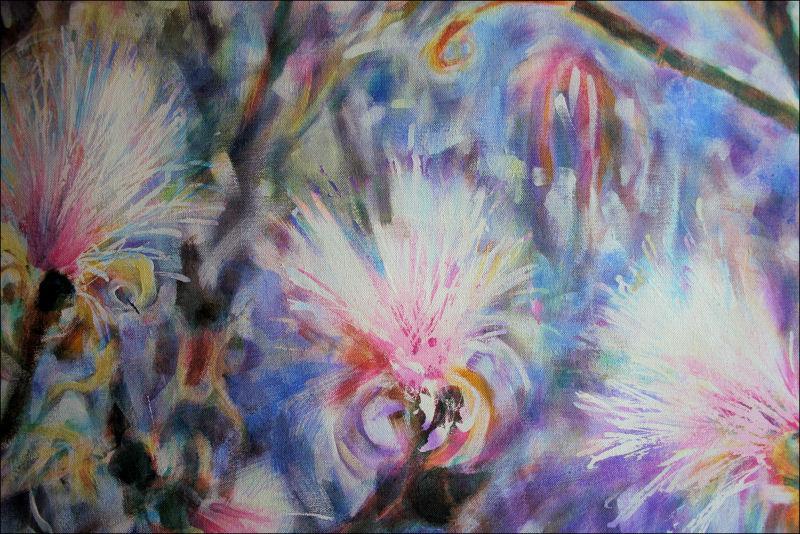
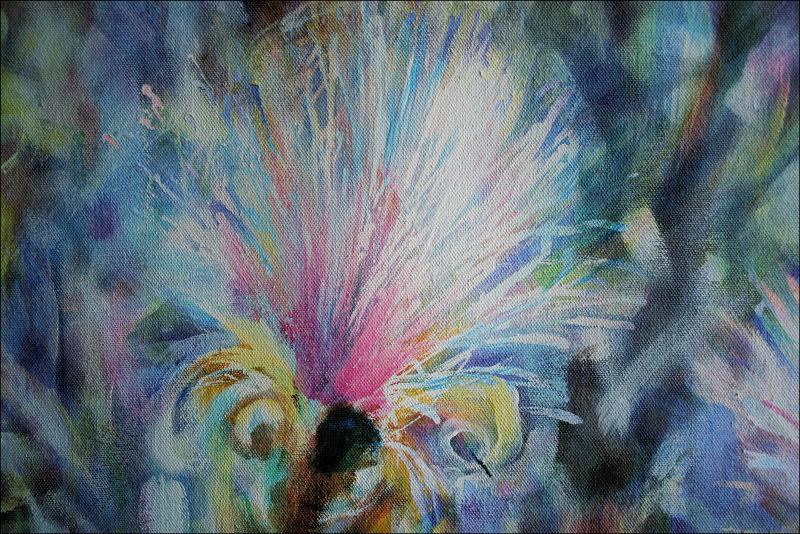
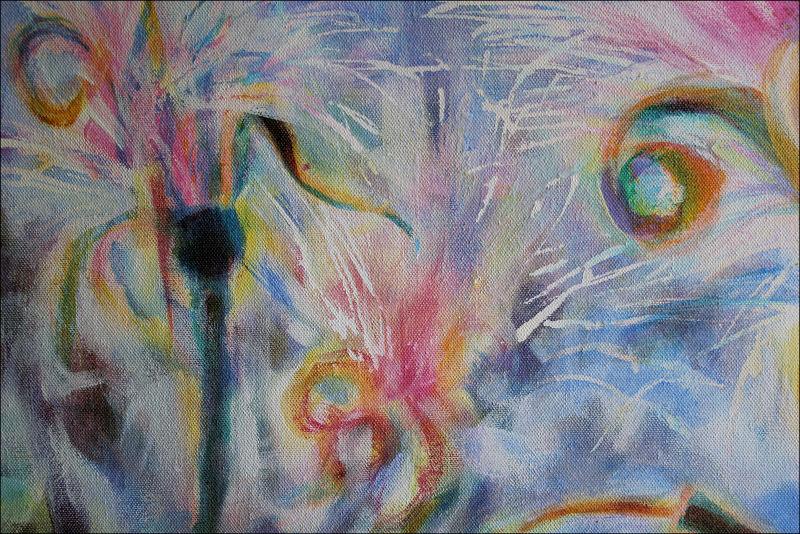
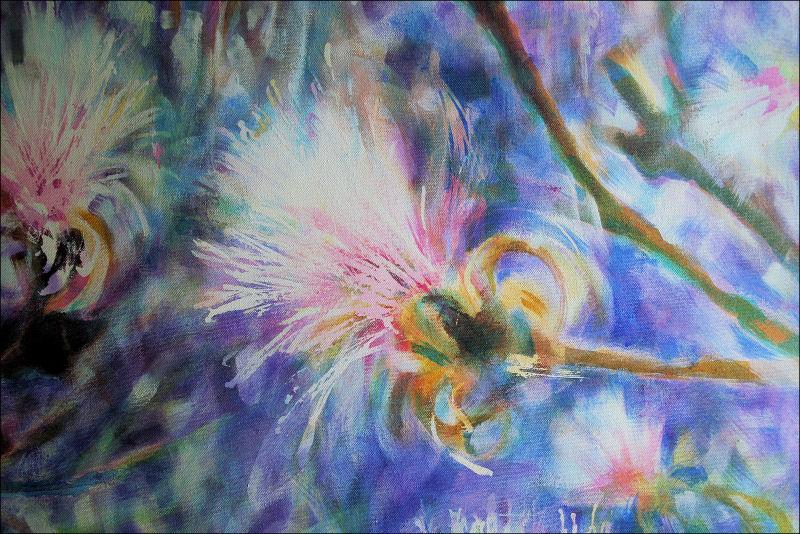
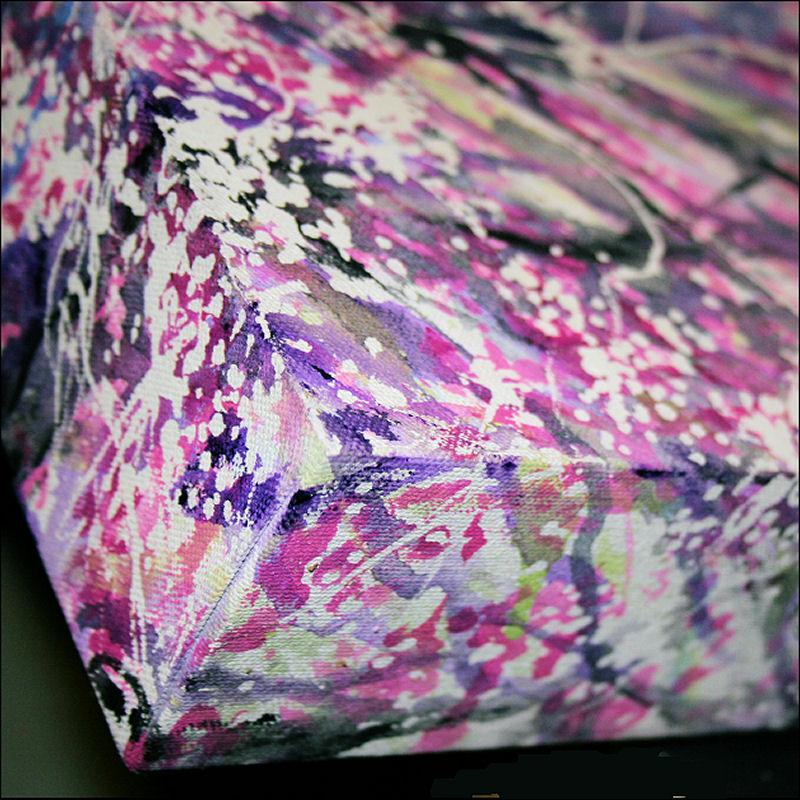
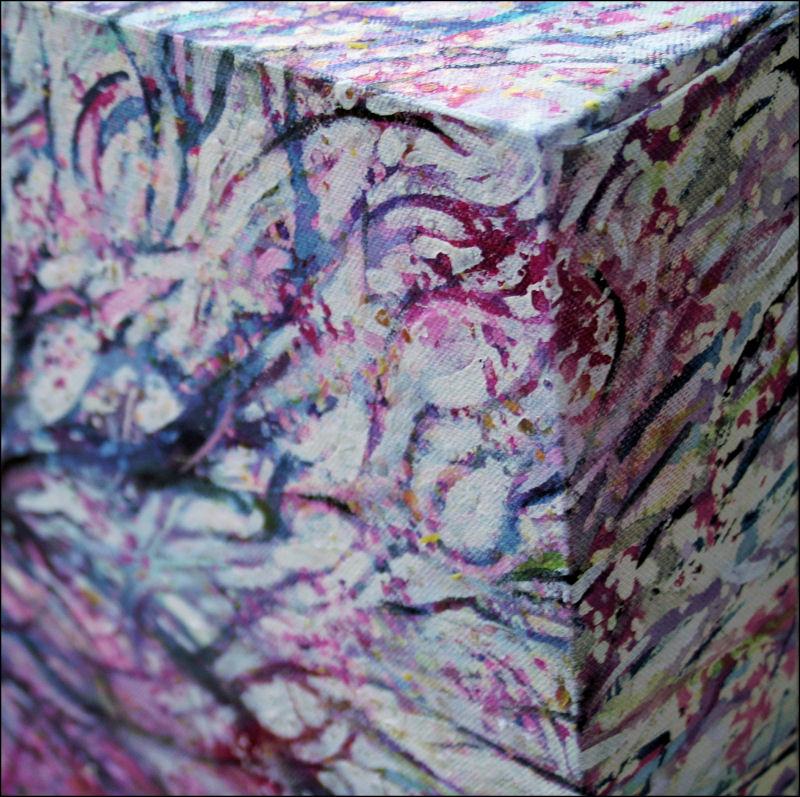
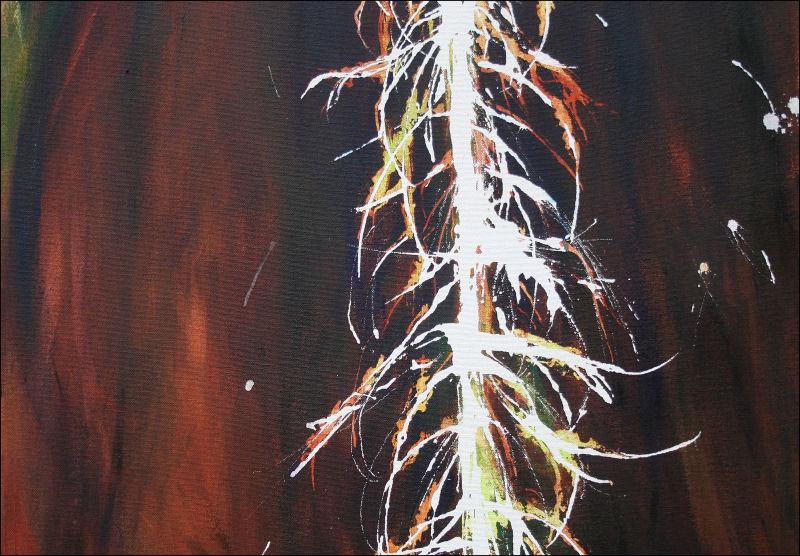
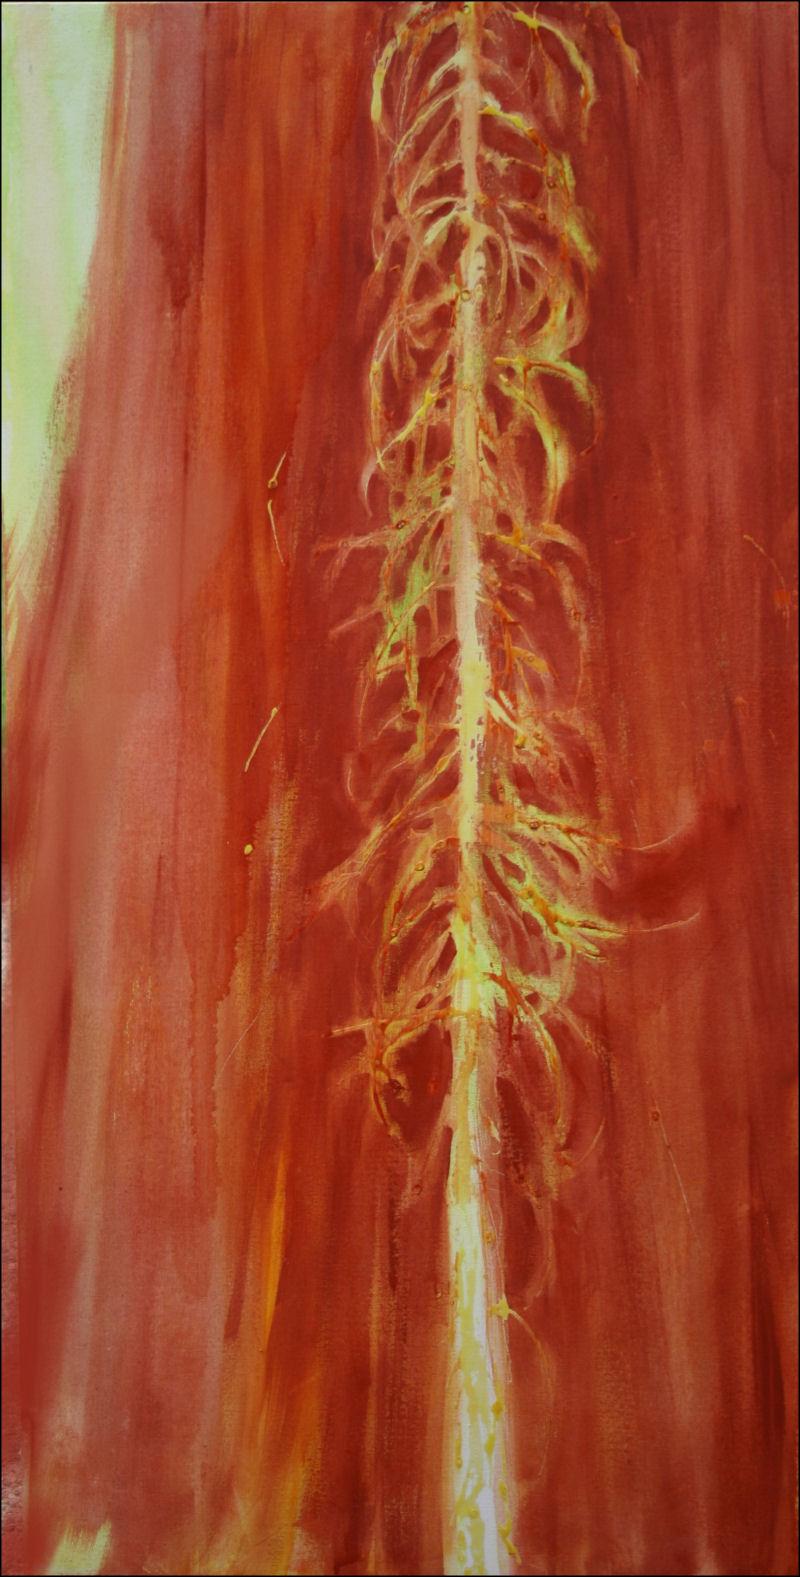
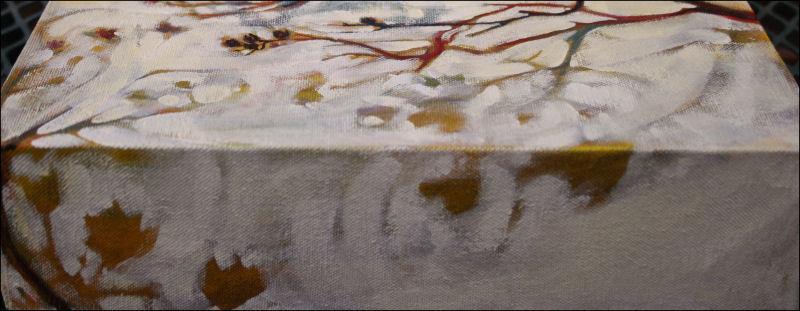
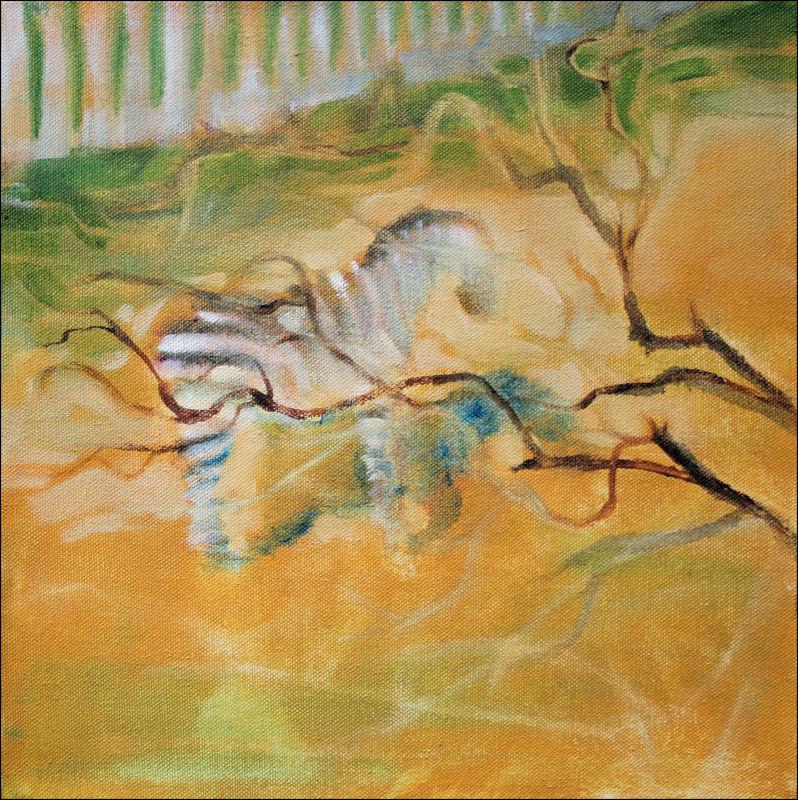
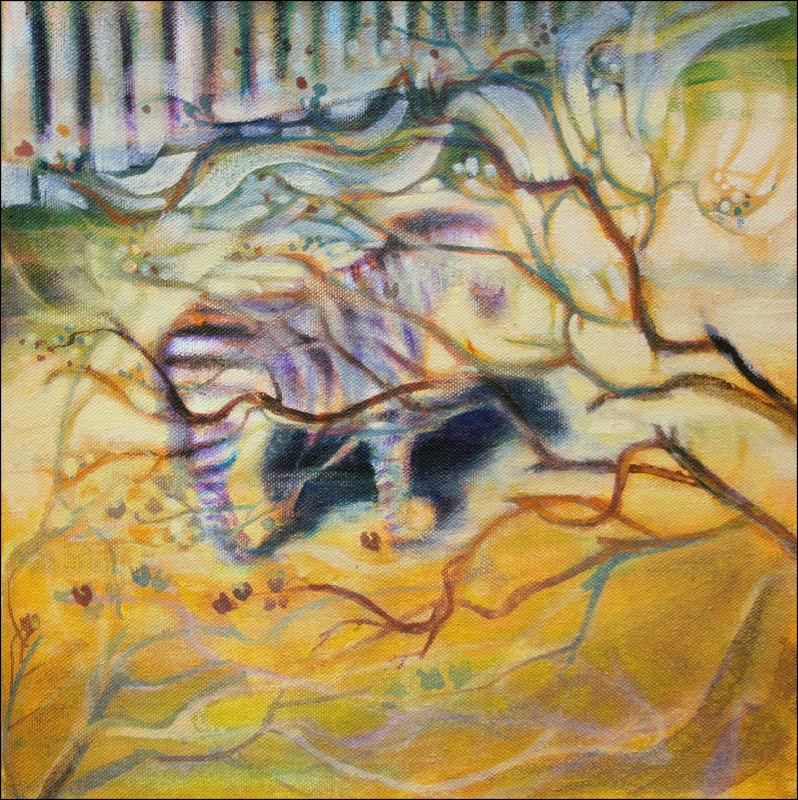
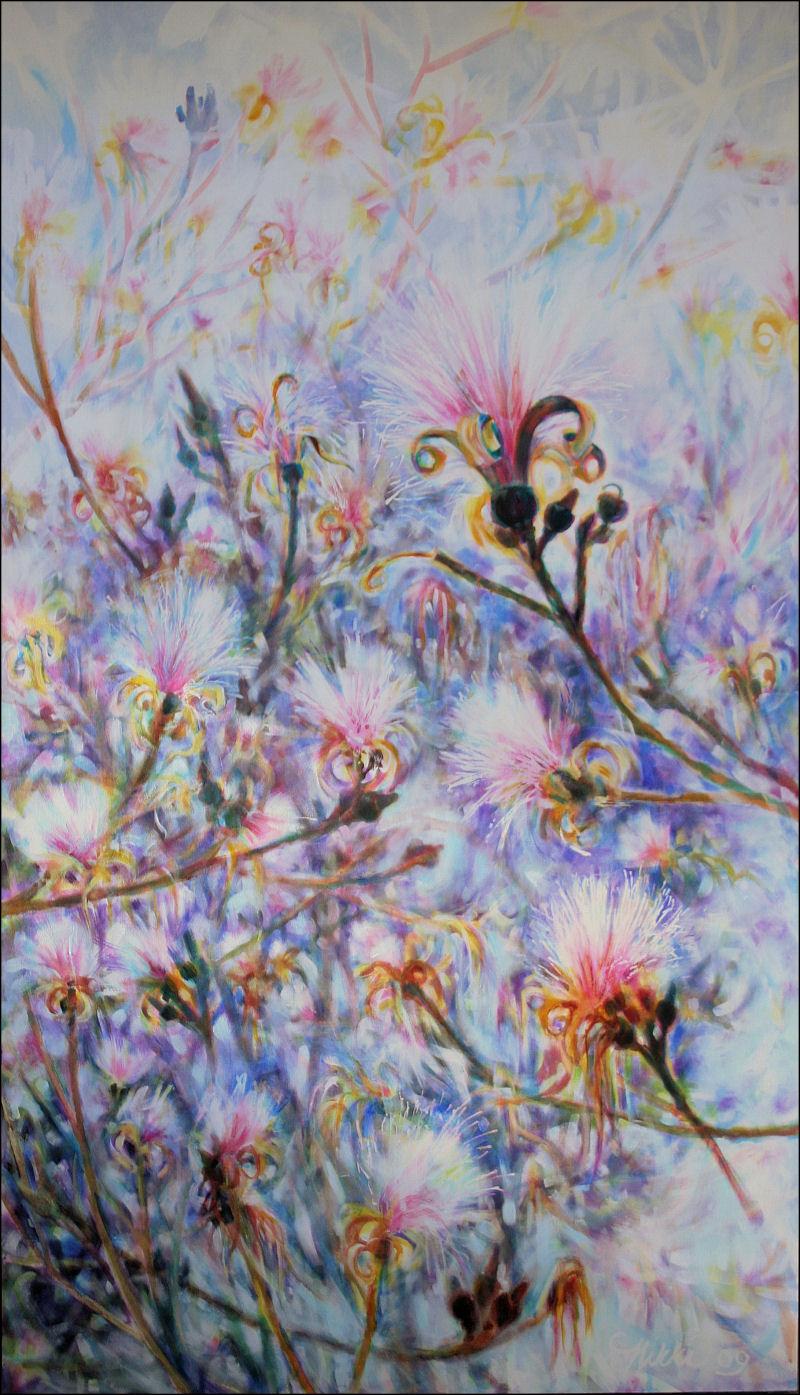 Flowering Shavingbrush Tree, April 11th above: details of 85H x 45W x 3D inches acrylics on canvas,wrapped sides painted, trim frame. Still in progress, but the rubberized mask was removed in order to see exactly what stage things are at before continuing. The painting overall still has a few areas to open up; very little work tomorrow should finish it. Shortly after starting the painting I turned it upside down and applied the masking fluid with a toothpick and let it drip. Gravity can be used as a tool!
April 13th, Left: The top third will still leave as much of the primed canvas as possible; a gradation of unfinished space toward more finished at the bottom. I was hoping to leave it as seen here giving an airy illusion, but it does need to develop along with the rest of it…still not as much, but enough to show the main flower better. This means I’ll be once again dripping masking fluid on the piece upside down to preserve the interesting marks that occurred from the 1st application, and also create some new ones with any further work. For previous posts on earliest progress of this painting click here.
Eastern Redbuds
Saturday, April 11th, 2009

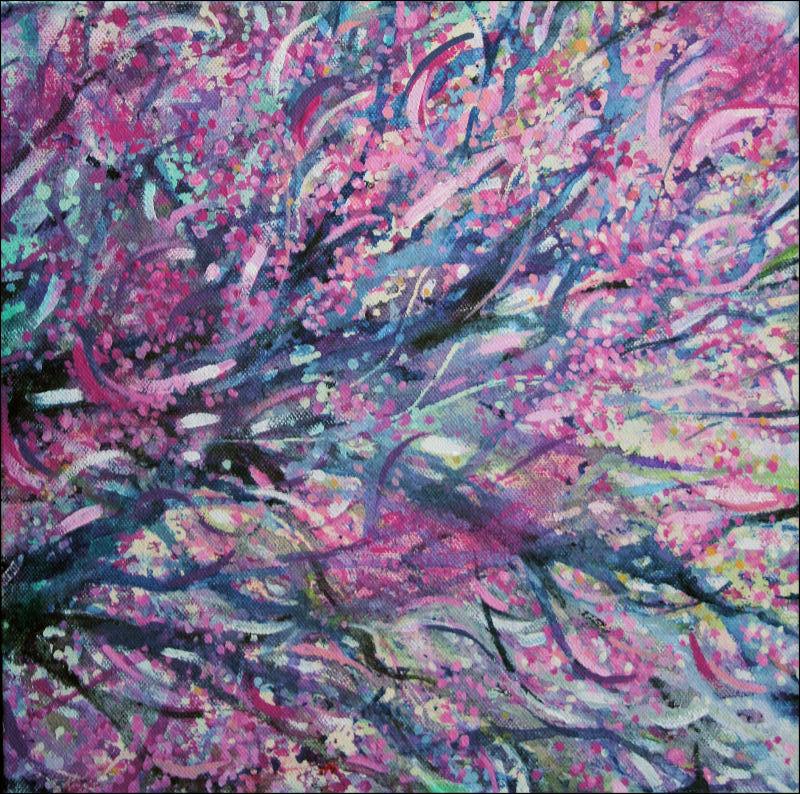
Eastern Redbuds – Spring in Dallas, TX – finished April 11, 2009, took off all remaining masking fluid. 11H x 11W x 3D inches, acrylics on canvas, wrapped sides painted. Signature is on the side, so one is superimposed here on the front. Hang on a wall or display on a flat surface.


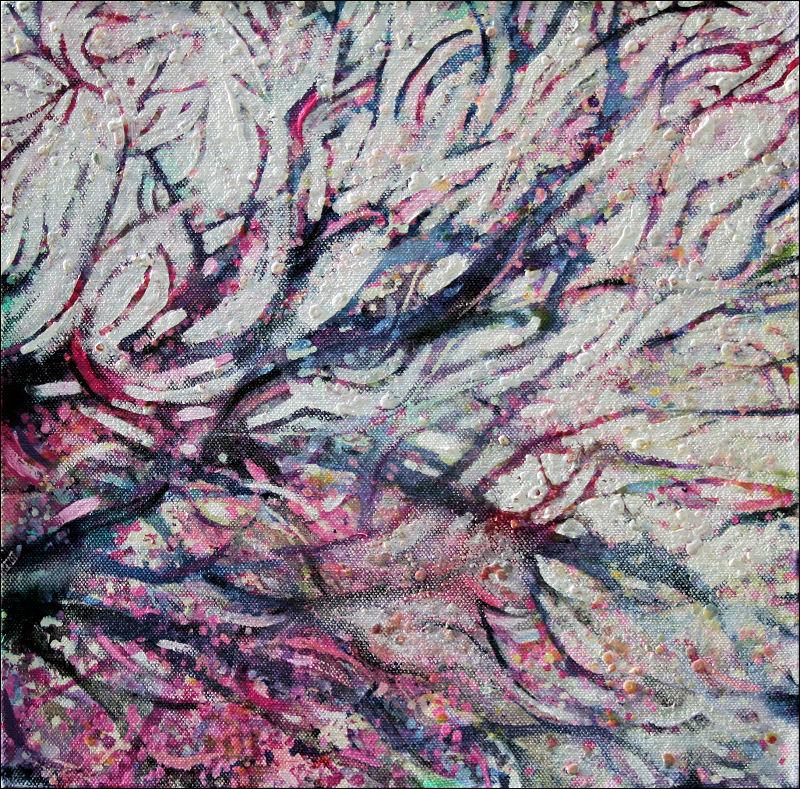
 Eastern Redbuds is the first of sixteen 11H x 11W x 3D inches acrylics on canvas paintings of various aspects of trees, to hang together as a group or flanking other paintings. This one uses masking medium to block out areas of white. The first layer of dried medium was removed in the above thumbnails. Afternoon post, left: Adding another layer of masking fluid, seen as yellow.
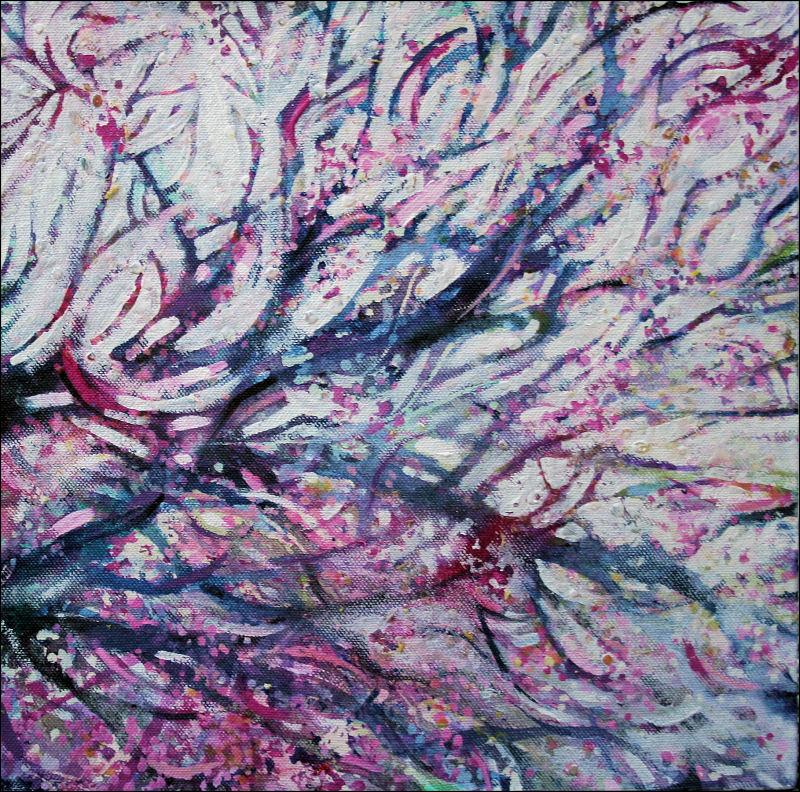
Feb. 25th: below left, looks better turned on its side but it could be hung either direction, mask was removed then the painting was overworked unintentionally – all the marks that were the whole point of using masking fluid are hardly visible.
So on Feb. 26th: below right, more mask was applied, then white painted between branches, tore away a few select areas of the dried mask and left the rest on as texture.
$350.00 ![]()
Using masking medium
Friday, March 27th, 2009
Grand Fir in front of a giant Sequoia, 48H x 24W x 2D inches acrylics on canvas, using masking medium to outline the mossy dead branches.


Some work, some don’t, but I haven’t given up on it yet; work still in progress, but since this won’t be in the Raleigh show in 7 weeks I can’t afford to spend more time on it now. I hoped the flat white would work against a fairly realistic background, but it doesn’t. This could go a few ways: 1) flatten the whole surface and make the painting an abstract 2) downsize the sequoia, add shadow and color to the fir then create a more realistic forest scene 3) block out more dead firs with more masking fluid, echoing the main one, still as an abstract or realistic or 4) ditch it! Some paintings are worth spending time exploring when they reach a certain stage, and with others chalk it up as experience, re-cover the stretcher frame and move on.
Chapala Wind
Tuesday, March 10th, 2009

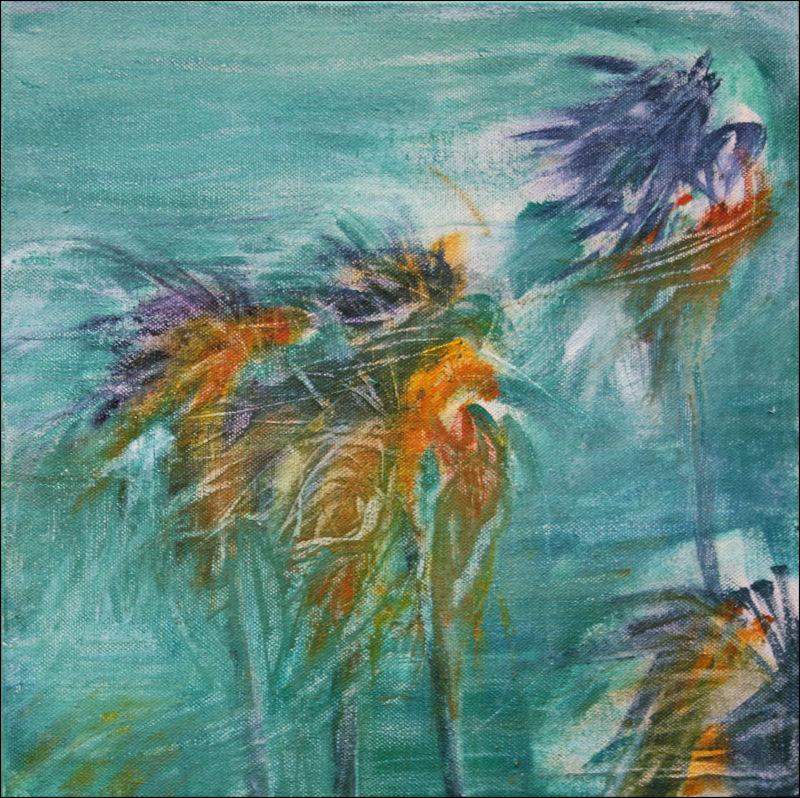
Chapala Wind – Lake Chapala, Mexico, 11H x 11W x 3D inches acrylics on canvas, wrapped sides painted. Frame unnecessary. Hang on a wall or display on a flat surface. Signed on the side so as not to impose on the composition.
Sold but a similar piece can be recreated upon request. Please allow 7 days to paint before shipping.
Sprayed alcohol loosened the paint and I was able to scratch it, at first with my nails and then a pottery tool. Thanks to Karen Xarchos for all the feedback and additional information. We worked together painting murals in Ottawa for a couple of years. Karen has done extensive work in restaurants and homes in the Ottawa area.Thumbnails: phase 1 and 2 in progress.

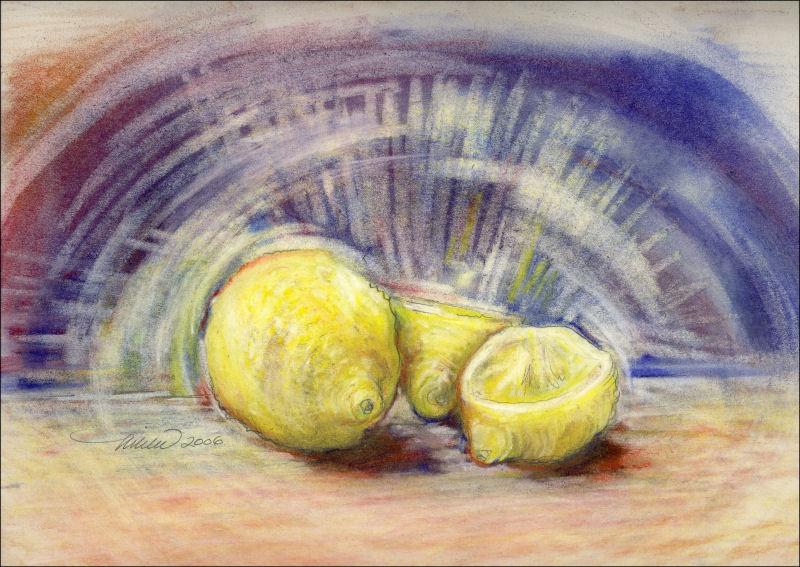
Myrtle At The Zoo
Monday, March 9th, 2009

Myrtle At The Zoo – Crepe Myrtle branches and seedpods before pruning, February at the Fort Worth Zoo, Texas. 11H x 11W x 3D inches acrylics on canvas, wrapped sides painted. Signature is on the side, so one is superimposed here on the front. Hang on a wall or display on a flat surface.
Encaustic – painting with beeswax
Friday, January 16th, 2009

Windy Maple Leaves, 8H x 10W x 2D inches encaustics


1) design inspired by Flamboyant Tree Seed Pods, white beeswax inlay on black, and 2) using a print of an old painting Dahlias as a base, techniques were more spontaneous, each 10H x 8W x 2D inches encaustics
Encaustic Artist Deanna Wood offers her studio space and supplies to her students on days when she’ll be there working. It’s a bargain for $30 per day so I went yesterday and finished the two pieces above. Painting with wax is a messy process, and Deanna’s studio is all set up for it, so it’s a perfect arrangement for artists who work primarily in other mediums, who don’t yet have their own supplies and wish to continue exploring encaustics. BYOS – Bring your own surface!

With a FAQ page on her website, Deanna outlines a brief history about encaustics and herself. Her most recent solo exhibition displays a portion of the extensive amount of encaustic works created around the theme of tornadoes. Including a few multi-media pieces as well, the show runs January 10th – February 29th, 2009 at the Leslie Powell Foundation and Gallery in Lawton, Oklahoma.
The Monte Files
Saturday, January 3rd, 2009
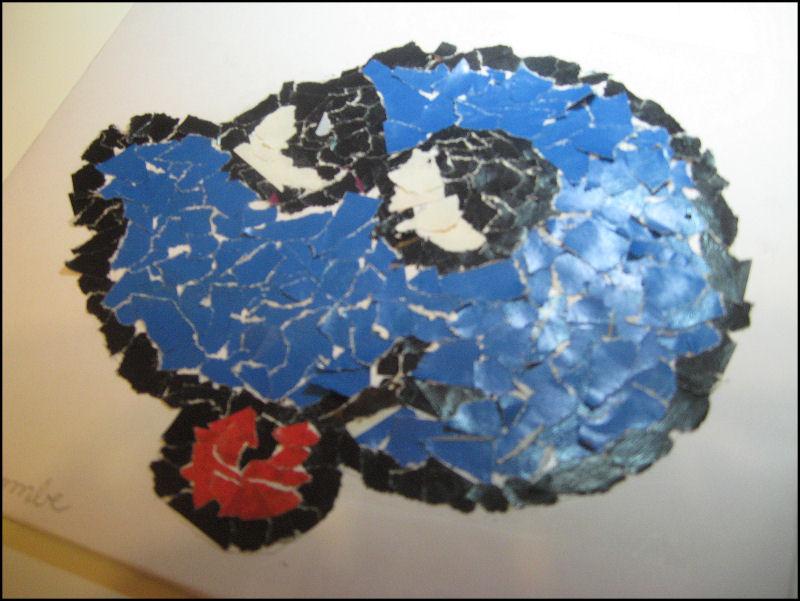
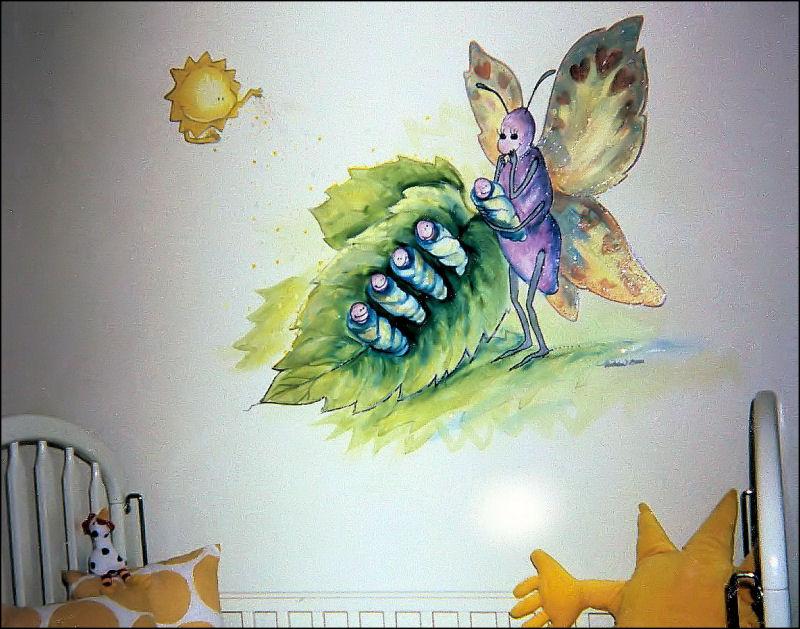
Post-dated January 11th, my niece Camille created this.
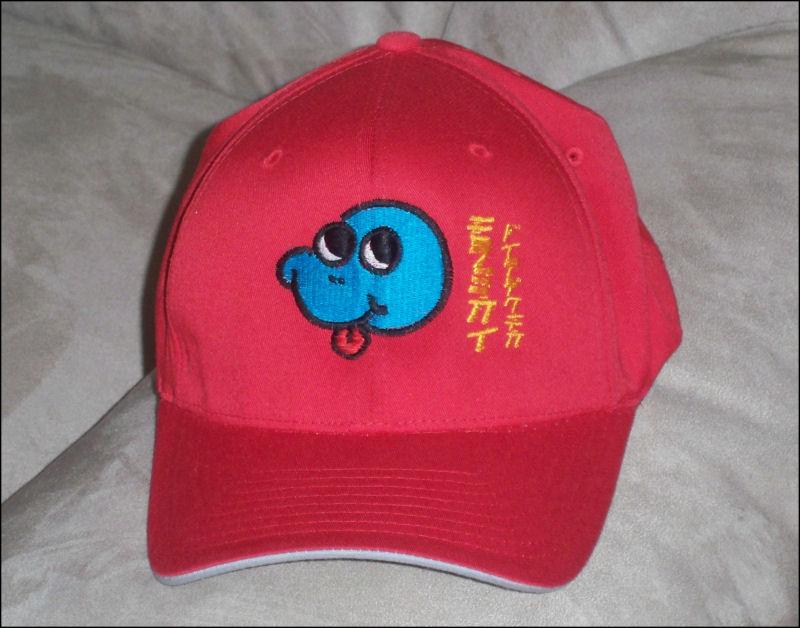
Post-dated January 28th, my son Adrian created this with his new industrial emboidery machine…good luck with your new biz Adrian!
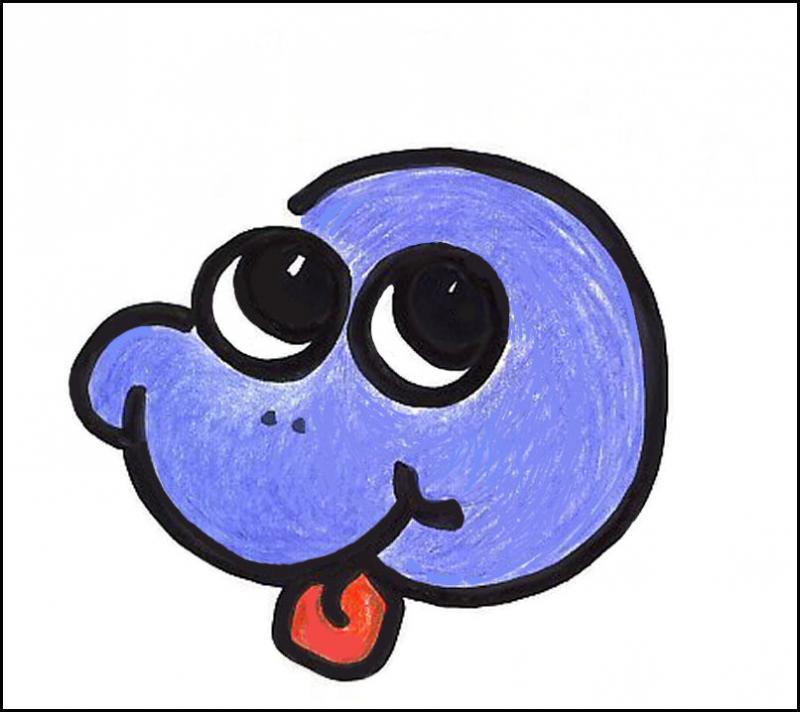 Who or what is Monte? (“Mon-tee”)
Borne out of inattentiveness in a grade six science class, I drew Monte everywhere on my friends’ notebooks, on everything I owned, even painted him on the back window of a friend’s car during the late ’70’s, which I have no photo of, unfortunately. 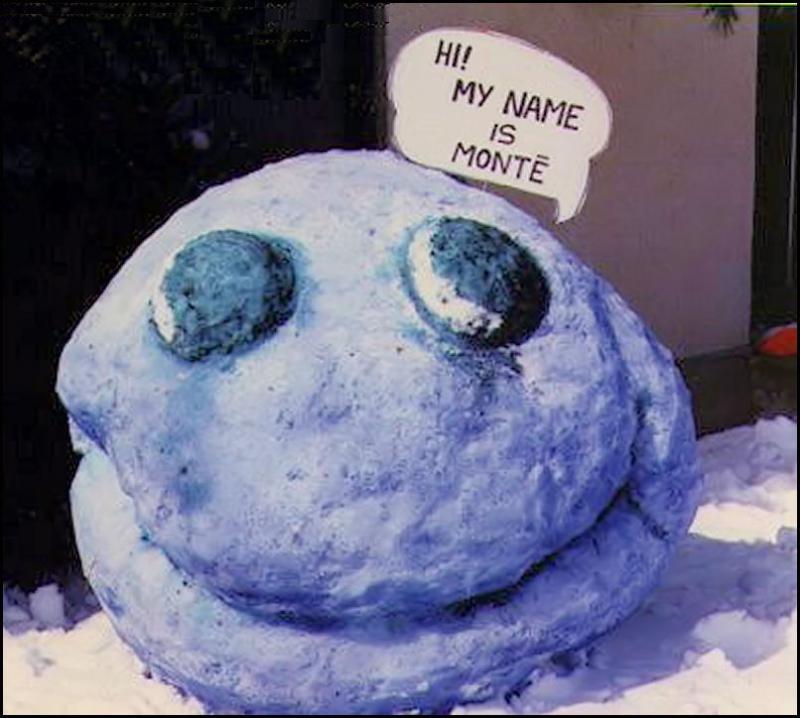 Monte has managed to come back to life every few years since then in some form or another. The cartoon head is originally blue and drawn along with different hand gestures, but the basic shape can morph into any figure simply by changing the eyes, shape of the head, adding ears or a nose or a suitable body.
 The Monte Files were listed on my very first website (2003) with the invitation for you, whoever and wherever you are, despite your age or drawing capabilities, to send in your version of Monte or a character inspired by him, and add it to the collection. The Monte Files are back, listed as a permanent page on this website and the invitation stands.
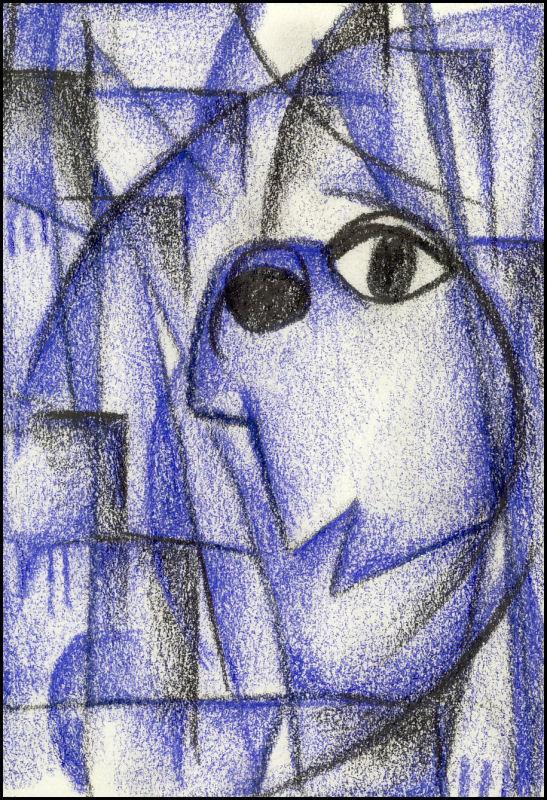
Your character doesn’t even have to resemble Monte at all, and can be created using whatever media you wish. Scan him, trace him, shred him to bits then reassemble him, make a collage with magazine clippings, write a quip or add hand gestures…no rules except be kind and have fun with it; Monte’s up for anything….
 Children, adults, artists or not, or if you have a website of your own that you’d like to promote in The Monte Files then send a jpeg image of your version of Monte, or a character inspired by him, along with any information you wish to share to nikki_coulombe@hotmail.com. I have no knowledge of how to, nor a desire to use your information in an unethical way, so you have no worries about that.
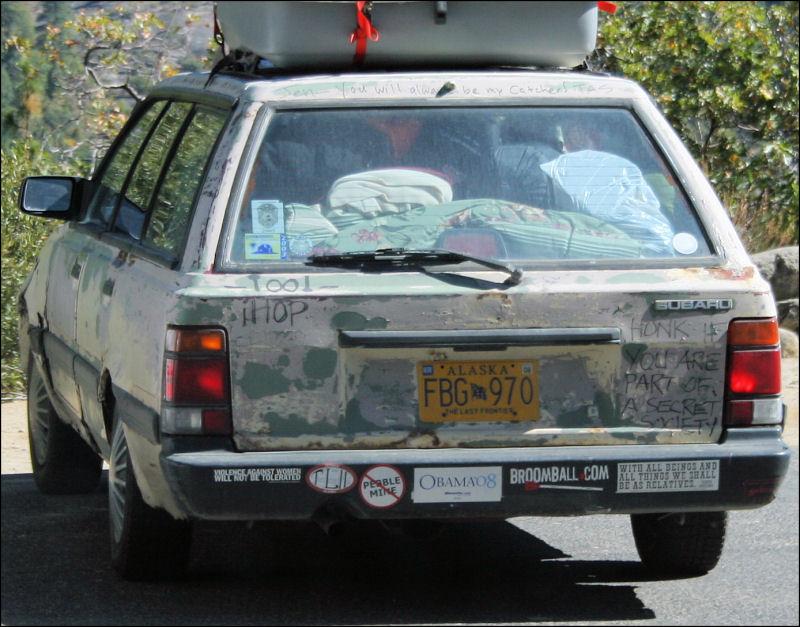
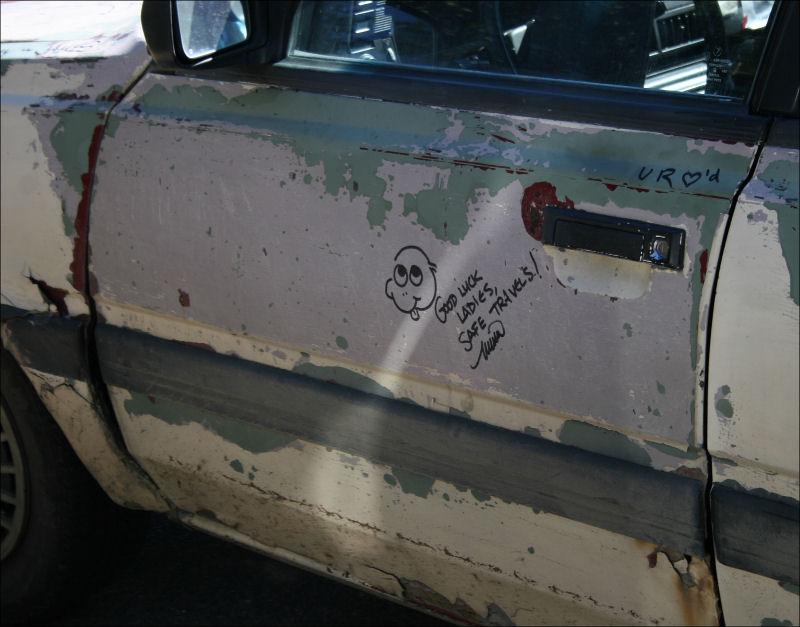
When we were in California recently we met some ladies at a rest stop who were driving to New York City from Alaska in a beat up old car. Friends, and people they met along the way signed their car. Monte travels!
Salish Spindle Whorl Chair finished
Saturday, December 20th, 2008
 Wooden Whorl Replica chair - finished detail of 29H x 29W x 29D inches 1960s Chair and mixed media")
 About the chairs: Art on Art on Art – A Tribute to Creativity
Each functional, comfortable 29 x 29 x 29 inch replica of ancient Art or artifact re-utilizes vintage plastic lawn chairs that were considered Art during the 1960’s. The original structures, damaged or unusable were refurbished by a process of weaving canvas strips along with white glue paper-mache style over the entire plastic top and bottom, and multiple layers of drywall compound sanded in between coats. Designs are drawn with graphite, painted with acrylics and a few coats of varnish for durability, then waxed to finish and enrich the colors. Two more Solaire chairs and other styles of chairs are in various stages of completion yet to be embellished with historic Art themes from other cultures. Other styles of chairs are also in progress.
 The skeletal structure of these chairs, called Solaire chairs, were manufactured during the 1960s and 1980s. Art in their own day, these particular ones were unusable; in poor condition they were bound for the landfill sight. Originals designed by Fabiano and Panzini, a French Canadian team, the Solaire chairs are now collectors items, some selling for $500.
The first chair to be up-cycled was a large replica of a Mayan bowl. The Mayan culture (Mexico, Guatemala, Belize and parts of Honduras, 900 B.C. – 900 A.D. Common Era) developed a very complex written language using pictographs. Many of these were facial expressions and hand gestures. The bowl displays the birth of the Maize God, and along the top edge the name of the bowl’s owner is written, as well as possibly what it was used for.
Salish Carved Wood Whorl
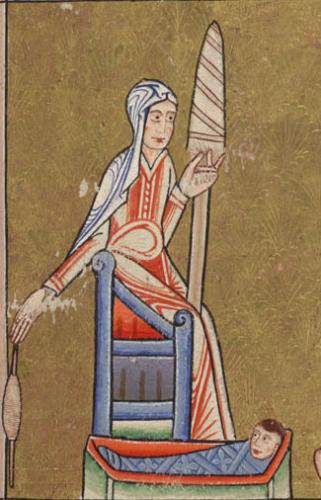 Whorls are weights that stabilize used for spinning yarn. The yarn in this case would have been wound just above the whorl. Spinning yarn and weaving fabric are some of humankind’s oldest technology. Left: example of a spindle with whorl, Eve Spinning Illuminated Manuscript c. 1170 A.D.
Historically everywhere wood has been used for tools, utensils and everyday items, they were often carved. The original spindle whorl that was the inspiration for this chair was used by a Salish Northwest Pacific coast community living south and east of Vancouver Island. Here a central human figure holds two otters. A Kwakiutl (also living in Vancouver Island territory) prayer to a Cedar tree prayer was very much a part of the inspiration for this chair. It reads: “Look at me friend! I come to ask you for your dress, since there is nothing you cannot be used for. I come to beg you for this, Long-life maker”.


December 18th: Finishing details, further definition with acrylics and two coats of varnish, waxed. Decided against the decoupage of the Kwakiutl prayer to a Cedar tree because it does not look as good as hoped. December 16th: Carved the plaster in areas then inlaying purple for contrast rather than black. Purple glazes also make yellows much richer.
The back and under-side of the chair is painted to look carved. The undercoat of yellows shines through succeeding layers, and carved wood textures are created with varnish leaving raised brushstrokes, and am trying whatever else I can think of to make it look like wood! More modeling with plaster and light sanding, then redrawing with graphite, and the design is continually adjusted.
Approaching Winter
Sunday, December 7th, 2008

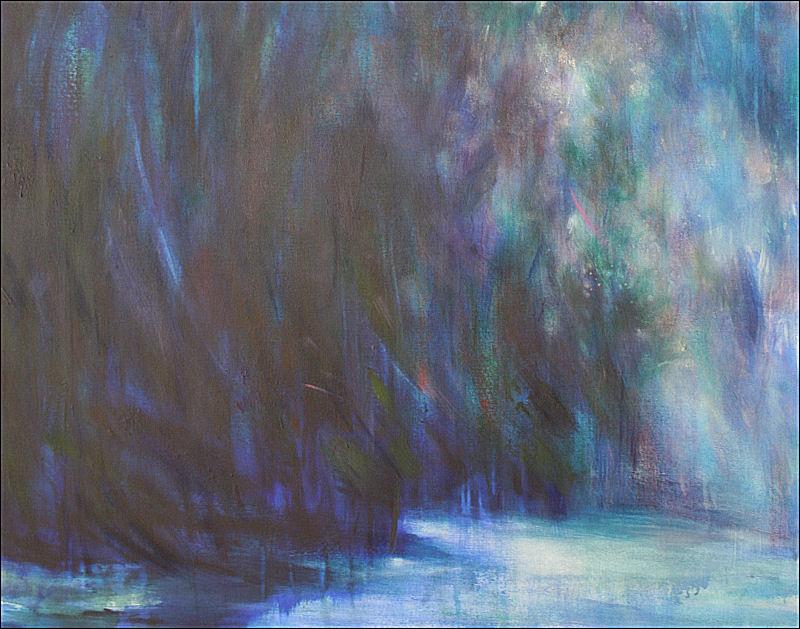
Approaching Winter finished today, 60H x 40W x 3D inches acrylics on canvas. More contemporary than my usual work, thought I’d try a new approach to painting…with more attention to editing rather than overworking. Shown in two detail images above, and full view shown in right thumbnail. Large paintings don’t show as well on computer screen, so there are two detail images that were sharpened 2X to reveal the actual texture as it is close up. Post-dated note: on exhibit at Oxide Gallery in Denton TX until February 28th, 2009.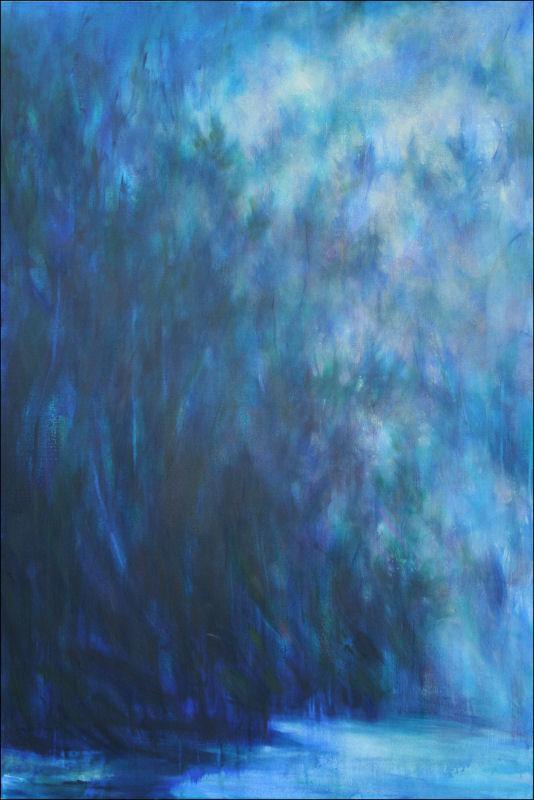
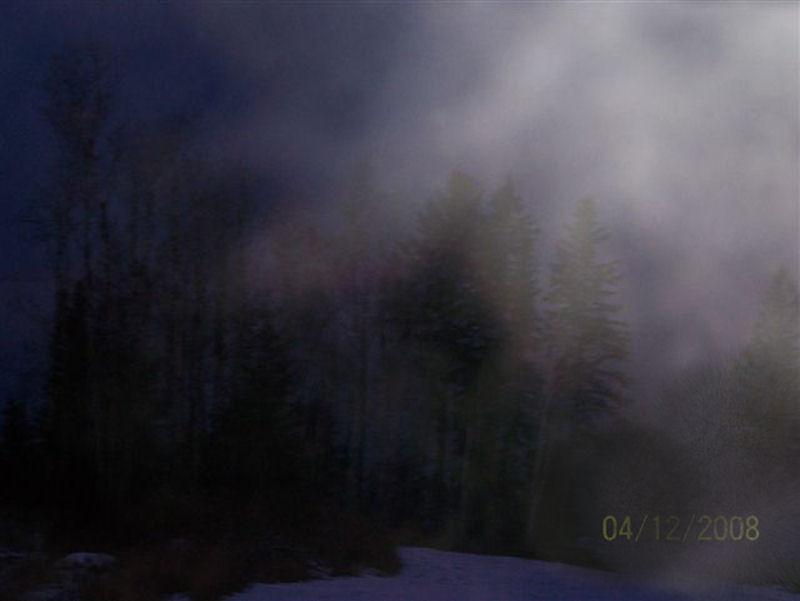
Dec. 6th: Colors mixed with matte medium: Ultramarine, Pthalos Blue, Prussian Blue, Cobalt Blue, Pthalos Green, Sap Green, Unbleached Titatium, Alizarin Crimson and Cadmium Red Deep, Mars Black (rarely use black). This morning I scrubbed and washed away a lot of paint in areas then reapplied more. Trying to stay with the less is more principle. Hope to wrap this one up by the end of the weekend if not before.
Dec. 5th: Stage 1, first coat of Ultramarine Blue and matte medium, very watered down, then applied thick in places. Inspired by photos taken by my good friend Ray Muskego in my home town, Cold Lake, Alberta during sunrise December 4th as misty fog drifted off the lake.
« Previous Entries Next Entries »